Lots of people are using this time of social distancing to learn a new a new hobby during this holiday season. In the spirit of DIY 2022, we asked ourselves: how do you make an inexpensive, creative and gorgeous holiday wreath with your own two hands? Our round-up of the secrets of the trade. Spoiler alert: it’s surprisingly easy to make your own holiday wreath.
How to make your own creative Holiday Wreath at Home
During the holidays it’s common to fill your home with Christmas cheer. From decorating your mantel with beautiful stockings to filling your home with your seasonal scents and of course, trimming the tree, holiday joy abounds. While these are all surefire ways of expressing your Christmas spirit, you shouldn’t forget your front door.
Sure you can purchase a premade wreath like this lovely Verdigris Wreath ($325) from Mackenzie-Childs or this beautiful Ives Wreath from Urban Stems ($70) to go with your outdoor twinkle lights and garland. But given we’ve been spending a little more time at home this holiday season than year’s past, we thought it would be fun to try and take matters into our own hands and hand craft our Christmas wreath ourselves.
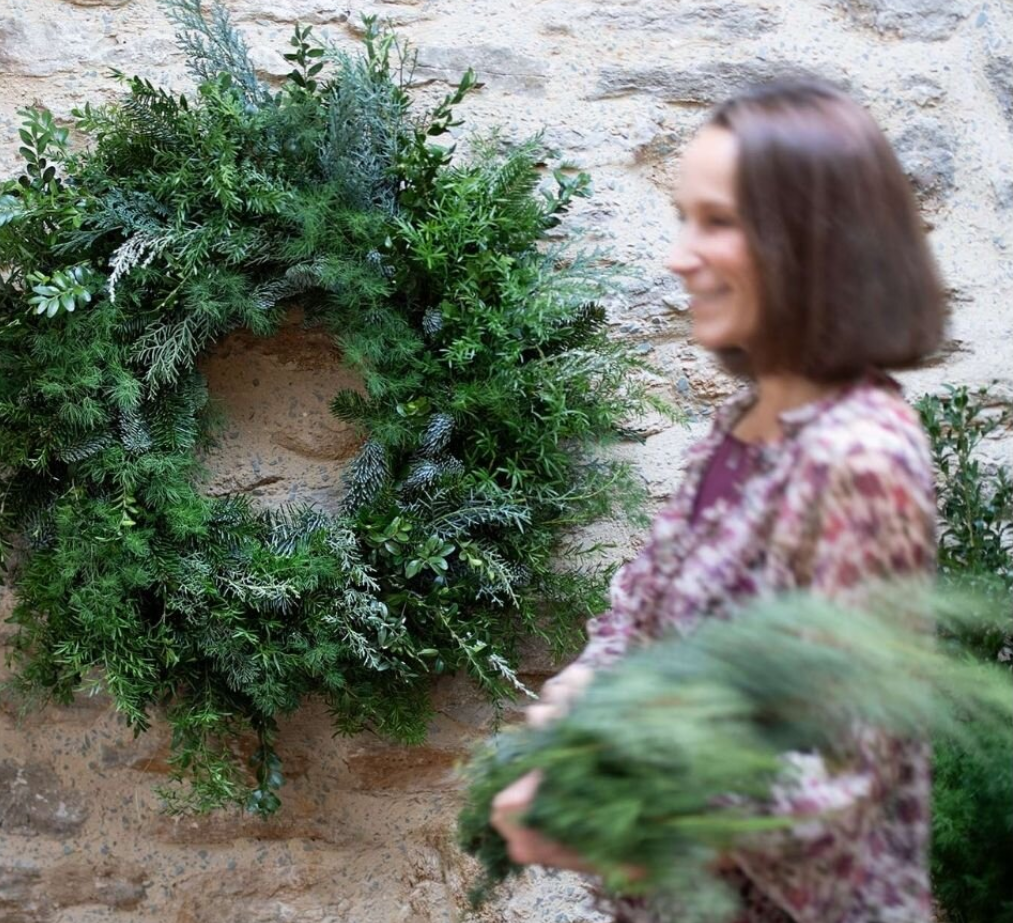
How to create an inexpensive holiday wreath this year: Holiday Wreath. Courtesy Photo.
That’s right, this year we’re making our front door as merry (and memorable) as can be with a homemade holiday wreath courtesy of a little help from famed London florist Philippa Craddock and lifestyle guru Martha Stewart. And much to our relief, it turns out that making your own Christmas wreath is rather simple.
All you need are the right supplies, some seasonal embellishments and a dash of holiday spirit. Here’s what you need to know to make your very own Christmas wreath this year.
How to make your own Holiday Wreath in 5 surprisingly easy steps
step 1: finding the perfect foliage
Traditionally the best places to source fresh holiday foliage are your local Christmas tree farms, garden centers and farmers markets. In New York City though, we are partial to the Christmas tree vendors that pop up on nearby street corners hailing from Quebec, Wisconsin and Alaska.

How to create an inexpensive holiday wreath this year: Different Foliage. Courtesy Photo.
You can also check your local florists for speciality greens or even shop online. Terrain offers Fresh Mixed Green Bunches ($88) while faux floral specialist AFloral has everything from realistic Artificial Pine ($8) to preserved Berry Pink Spiral Eucalyptus ($30) for a pop of color.
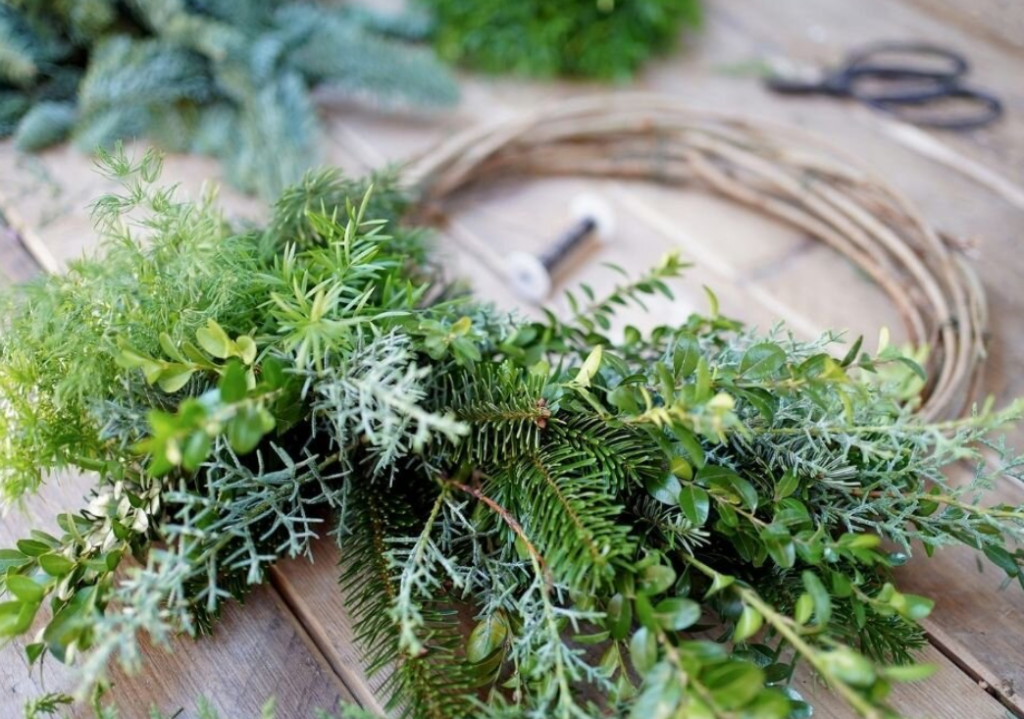
The professionals suggest using hardy greenery (ie nothing that will wilt without water) like spruce, evergreen and fir to construct a traditional holiday wreath. These branches will act as your base under other textured branches such as juniper, cedar and buxus. And if you are lucky enough to have your own backyard, you can “shop” from there too. It’s the perfect place to secure some colorful add-ins like holly and even pinecones.
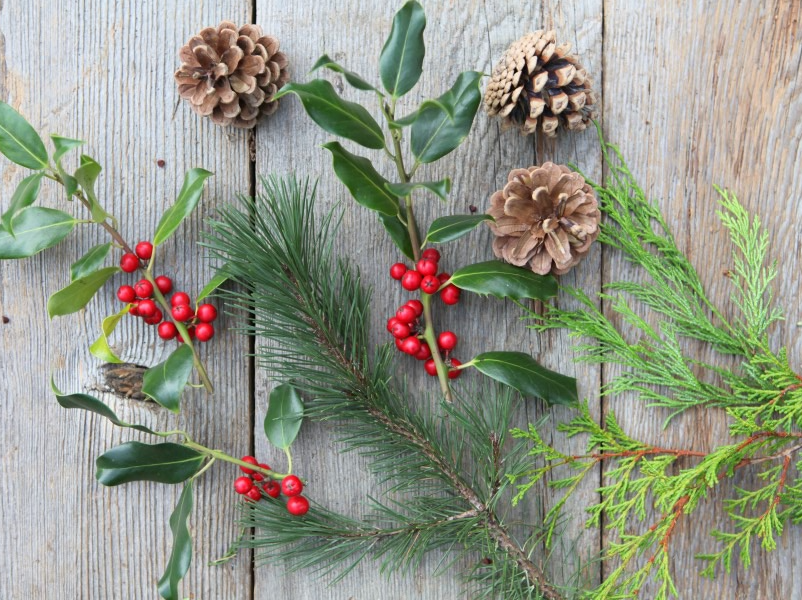
How to create an inexpensive holiday wreath this year: Decorations. Courtesy Photo.
step 2: tools of the trade
Now that you know where to go and what to look for, there are a couple other things you will need on hand for crafting your own wreath. The most obvious is a base on which to put your greenery on. There are two general types of wreath bases: a grapevine base or a wire base.

How to create an inexpensive holiday wreath this year: Tools of the Trade. Courtesy Photo.
A grapevine wreath base is one of the sturdiest and is made from entwined bundles of twigs. You can of course make one yourself with either grapevines or hazel branches, or you can purchase a premade Natural Grapevine Wreath ($18) from AFloral or your local craft store.
Wire Wreath Forms ($14) are widely available and come in a variety of shapes. They’re sturdy enough for heavy materials like evergreen boughs, or even citrus fruits once you move onto more advanced wreath making. Terrain has a beautiful Brass Tabletop Wreath ($38 – $48) option for those looking for a not so basic option.
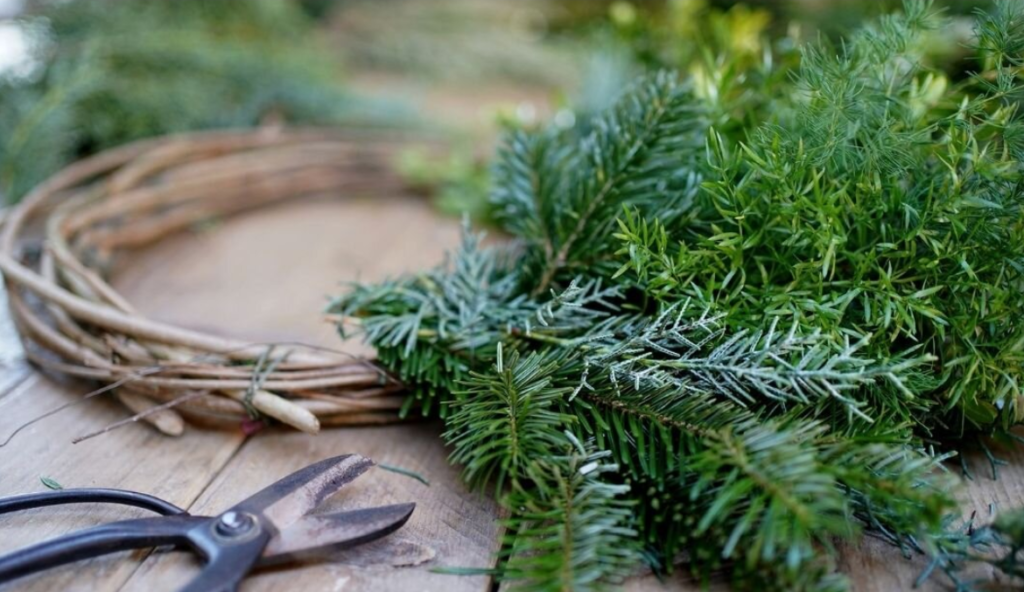
How to create an inexpensive holiday wreath this year: Bundles. Courtesy Photo.
Other items you will need are a sturdy pair of shears – we’re partial to The Floral Society’s Floral Clippers ($64) for clipping your greens and for trimming your Green Florist Wire ($3) and Green Twine ($3). Or for a one stop shop, The Floral Society offers a Wreath Workshop Box ($84) with clippers, wire, a wreath form, how to’s and more.
step 3: mastering the basic principles
Since many of these greens go without water at the tree farm and farmers markets, you may want to rehydrate the branches before you get started. This will ensure your greenery lasts longer. Simply make diagonal cuts through the stems of your greenery. (this allows more water to be absorbed) Make sure to place them in water until you are ready to begin.
To get your wreath started, first secure your florist wire to your wreath base by wrapping around 3-4 times and tying it tightly. Once you have done that, do not cut your wire as you will be using it to secure your entire wreath in one piece. Then set it to the outside of your base.

How to create an inexpensive holiday wreath this year: Wreath Base. Courtesy Photo.
Next, create a small bundled fan with 5-6 pieces of your foliage layering shorter, varying textured pieces on top of larger, more robust ones. Then, place your bundle on the base of your wreath with your shorter pieces towards the center of the circle at an angle (this ensures your finished wreath has a clear and open circle) and secure the fan with your florist wire wrapping it tightly around your wreath 2-3 times until it is secure. Again, do not cut your wire, just set it aside.
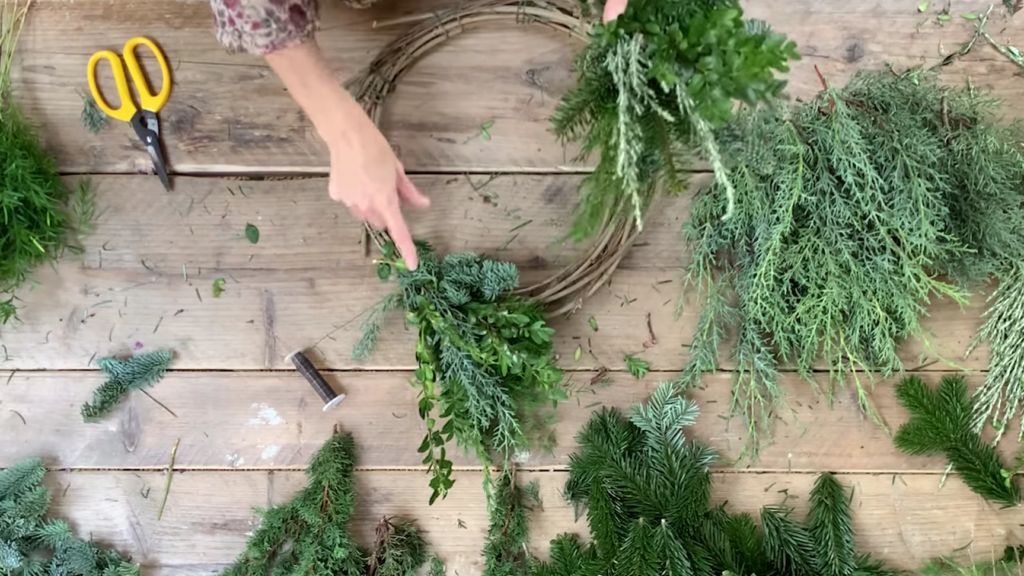
How to create a DIY holiday wreath this year: Bundles. Courtesy Photo.
Create and add another bundle diversifying the style as you wish. Place it at an angle again with shorter pieces inward and longer pieces outwards. Make sure to overlap the previous bundle which will completely cover any exposed wire. As with the first bundle, wrap the wire around the stems 2 – 3 times. Make sure you are setting it aside when complete without cutting. Continue adding varying bundles until you reach the point where you started.
step 4: complete the circle
To finish your wreath, create one final bundle and slide it into place under your original starting bundle. This time when you go to secure your stems with the wire, be sure to pull back on the top of your original bundle. This is so you dont bind in any of its foliage. This will make sure that your wreath is a seamless circle with no visible beginning or end.
How to create a DIY holiday wreath this year: Bundles. Courtesy Photo.
Finally, gently flip over your wreath and tie off your wire to ensure it stays tightly together. It’s normal for the greens to shift and change shape as they dry. Make sure to tie a tight knot so nothing falls loose. Lastly, take your twine and create a loop that you can secure to your base. Now, hang your wreath from your door or window.
step 5: add a bow
Some wreaths don’t seem complete until they are finished off with a large bow. A crisp ribbon with wire, such as this festive Red and White striped Christmas Ribbon ($15) from AFloral, will make a nice full bow; but any variation of grosgrain, satin, taffeta and classic velvet are good choices too. We’re partial to Terrain’s Antique Frayed Ribbon ($38) in red.
Attach your bow (or any other accents you see fit), and lo and behold you have finished making your first Christmas wreath. Don’t believe us? Check out this one. I made it with leftover branches from our frasier fir tree. I added some vintage faux floral fillers from my granny’s floral shop and a few pieces from my terrace garden. Not bad, eh?

How to create a DIY holiday wreath this year: Homemade Holiday Wreath. Courtesy Photo.
How to make a creative Holiday Wreath at Home?
So what do you think? Will you be joining the ranks of amateur DIY holiday wreath makers? We think it’s a marvelous and meaningful way to put the finishing touches on your holiday decorating this year. However you choose to celebrate, we’re wishing you Happy Holidays, dear reader!


